
Last updated October 30, 2026
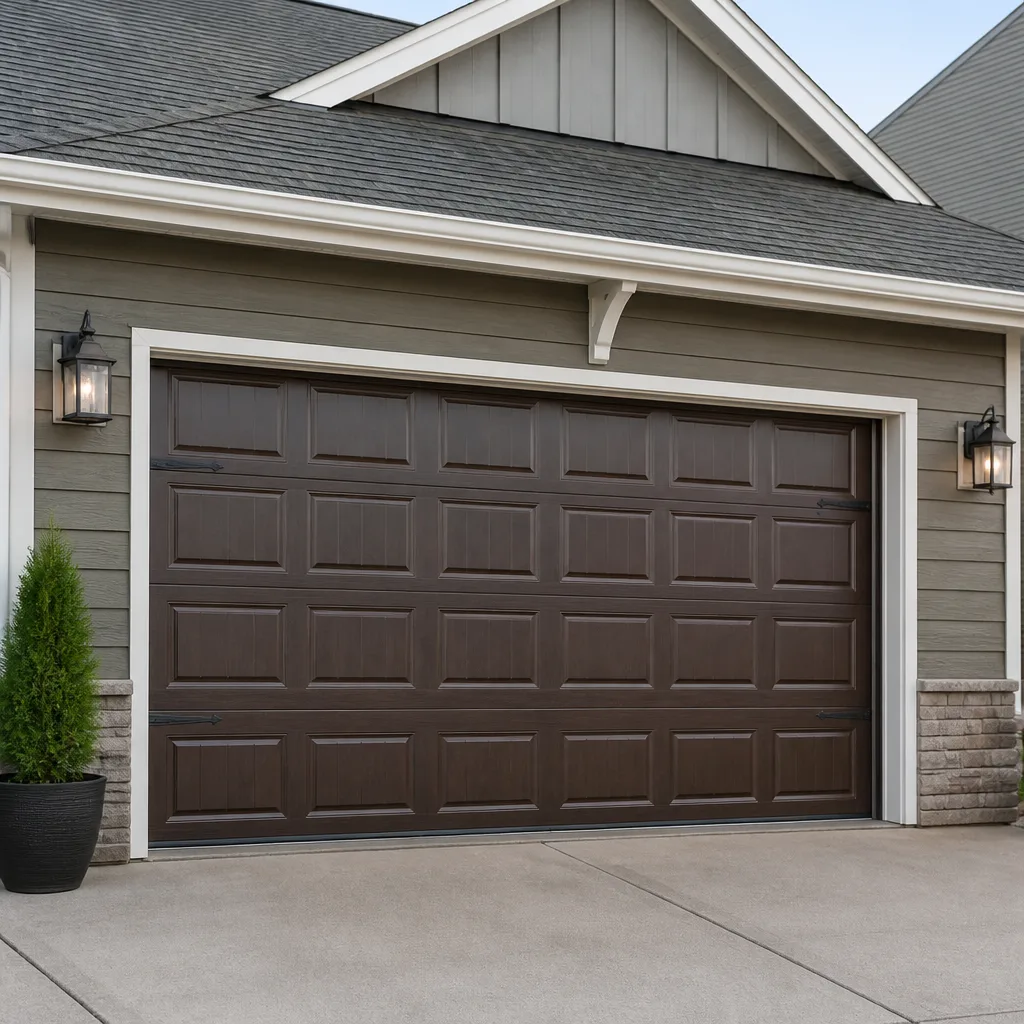 Raised-panel steel
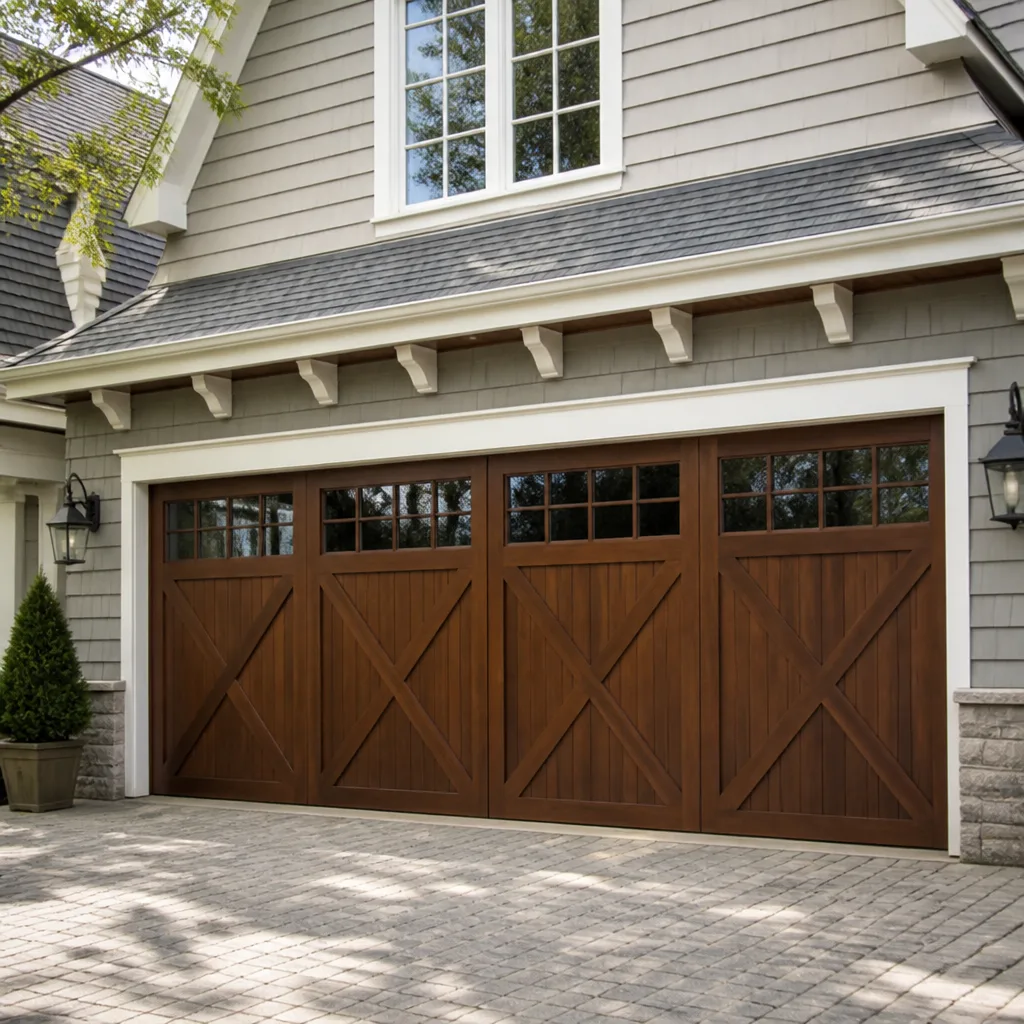 Carriage house
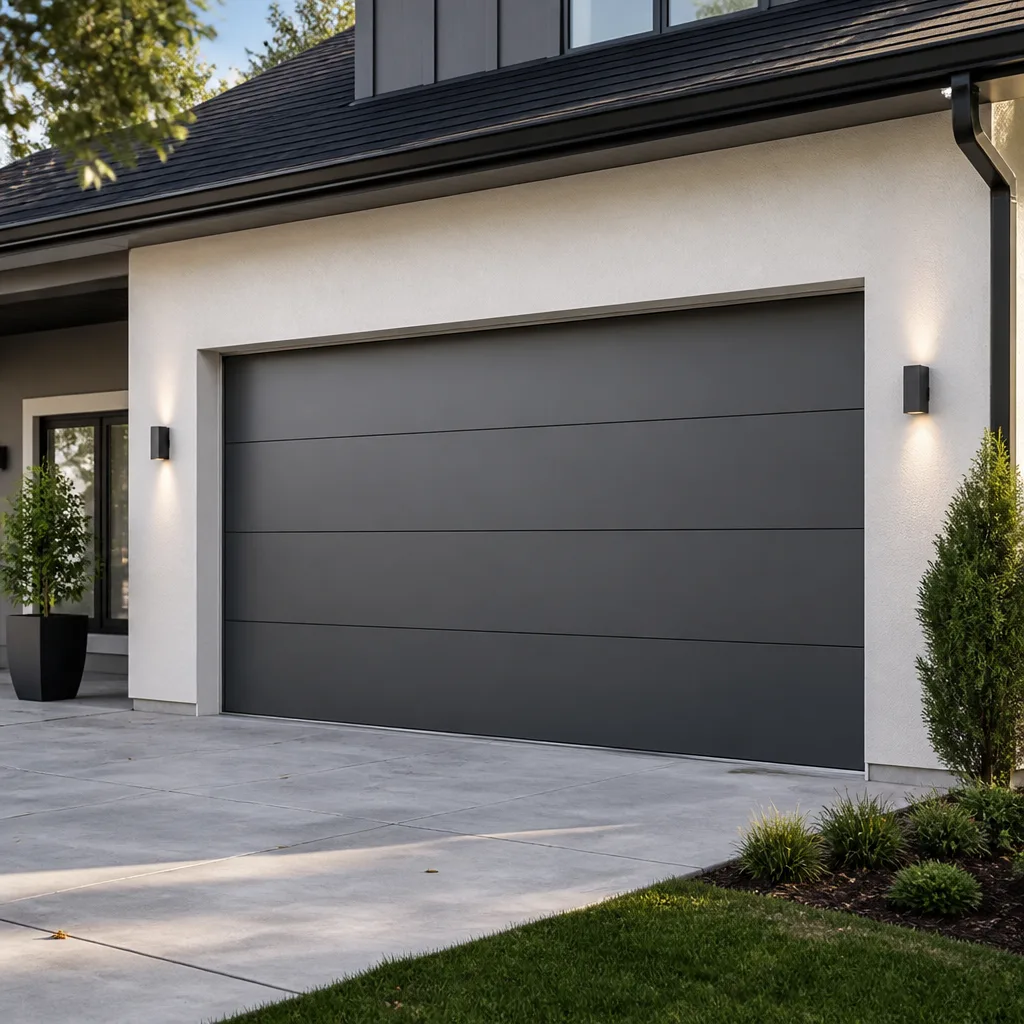 Modern flush
 Full-view glass
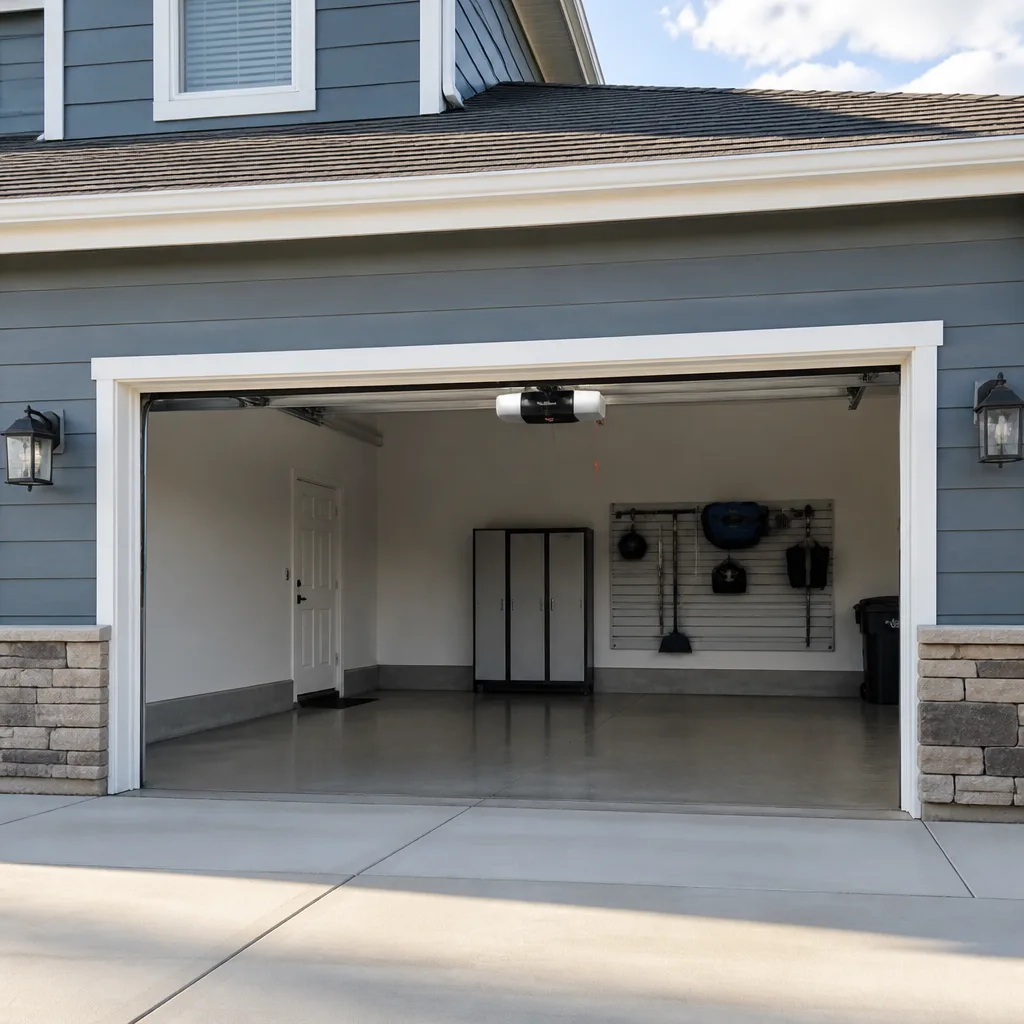 LiftMaster openers
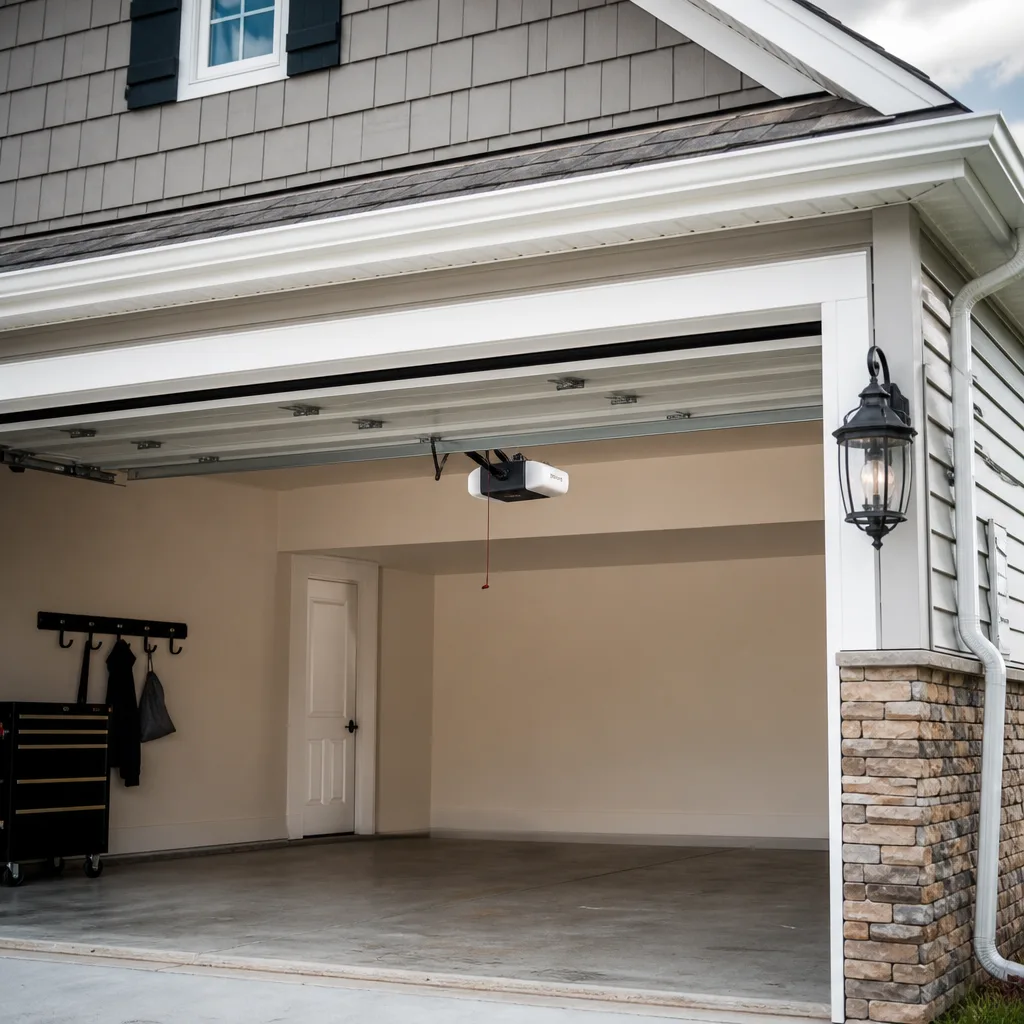 Chamberlain openers
Full 25-point door and opener safety check with every visit - springs, cables, rollers, tracks, and your LiftMaster or Chamberlain opener included
You get a price before we start. It does not change when the truck arrives.
Get your free estimateGarage Door Repair Troubleshooting: Common Problems and How to Fix Them
A garage door spring is under anywhere from 100 to 300 pounds of torque. The reason you see so many DIY spring repair videos online isn’t because it’s safe. It’s because the people those springs injured aren’t posting follow-ups. This guide walks you through the most common garage door problems in Miami Beach, teaches you how to tell a safe fix from a dangerous one, and shows you exactly when to put down the wrench and call our Garage Door Repair services instead. You’ll learn how to diagnose symptoms, narrow down root causes, and communicate clearly with a technician so you get the right fix the first time.
Styles & brands we work with
Quick Answer
Most garage door problems fall into seven categories: the door grinds or scrapes, moves too slowly, won’t close fully, reverses unexpectedly, makes a loud bang, leaves a gap at the bottom, or the opener runs without moving the door. About 40% of these issues are safe to address with basic tools and lubrication. The rest involve high-tension springs, cables, or tracks under load, and those require a trained technician. Knowing which is which saves you money, time, and potentially a trip to the emergency room.
Table of Contents
- The Symptom-to-Cause Matrix: Seven Signs and What They Mean
- How to Test Whether It’s the Opener or the Door
- Spring Problems: The Line You Don’t Cross
- Cable and Track Issues: What You Can Safely Check
- Opener Problems: Diagnostics You Can Do Yourself
- Sensor Alignment and Photo Eye Issues
- Weatherstripping, Seals, and the Miami Beach Climate Factor
- How to Document the Problem Before You Call
- Common Mistakes to Avoid
- When to Call a Professional
- Frequently Asked Questions
- The Bottom Line
The Symptom-to-Cause Matrix: Seven Signs and What They Mean
Before you touch anything, figure out what the door is telling you. Each symptom points to a different system: springs, cables, tracks, rollers, opener, or sensors. Here’s the breakdown we use on every service call in Miami Beach, and it works the same whether you’re in South Beach or Surfside.
1. Grinding or Scraping Noise
Likely causes: Dry or worn rollers, debris in the tracks, or misaligned tracks. Metal rollers without bearings start to grind after a few years, especially in Miami Beach’s salt air, which accelerates corrosion on exposed metal parts. Nylon rollers wear more quietly but still develop flat spots over time.
Safe to attempt: Clean the tracks with a dry cloth and apply a silicone-based lubricant to the rollers and hinges. Do not use WD-40. It’s a solvent, not a lubricant, and it strips the grease that keeps things moving smoothly. If the grinding persists after cleaning and lubrication, the rollers likely need replacement. That’s a technician job because the bottom roller bracket is under spring tension.
2. Door Moves Slowly
Likely causes: Worn springs, opener motor aging, or friction from dirty tracks and rollers. A properly balanced door should open at a steady, controlled speed. If it’s crawling, something is working harder than it should. In our experience, slow movement in a Miami Beach garage is often the first sign of a spring losing tension. The spring still looks intact, but it’s no longer doing its share of the lifting.
Safe to attempt: Lubricate rollers, hinges, and the spring itself. Clean track buildup. If speed doesn’t improve, the spring is the prime suspect. This requires a professional spring replacement. Do not attempt to adjust spring tension yourself.
3. Door Won’t Close Fully
Likely causes: Misaligned photo eye sensors, obstructed track, limit switch settings, or a door that’s out of balance. In Miami Beach, where many homes have older garages with settling concrete slabs, a door that closed fine last year may now hit the floor unevenly because the slab has shifted slightly.
Safe to attempt: Check that nothing is blocking the photo eye beam. Clean the sensor lenses with a soft cloth. Ensure the sensors are pointing at each other. If the door still won’t close, check for physical obstructions in the track. If all clear, the limit switch may need adjustment or the spring tension has changed. Call a technician.
4. Door Reverses Unexpectedly
Likely causes: Sensors detecting an obstruction that isn’t there, excessive closing force triggering the auto-reverse safety mechanism, or binding in the tracks. Sometimes a leaf or a bit of Miami Beach sand blows into the sensor’s line of sight on a windy day, and the door reverses because it thinks something is in the way.
Safe to attempt: Wipe the sensor lenses. Check for cobwebs, leaves, or small debris near the sensors. If the problem persists, do not disable or bypass the auto-reverse feature. That feature is a federal safety requirement, and disabling it is both illegal and genuinely dangerous, especially in homes with children or pets.
5. Loud Bang from the Spring Area
Likely cause: A torsion spring snapped. You’ll usually hear it as a bang that sounds like a car backfiring inside the garage. After that, the door won’t open, or it opens only a few inches. The opener will strain and strain, but the door is now dead weight.
Do not attempt anything. A snapped spring under tension can still have stored energy in its remaining coils. Do not stand on a ladder near the spring. Do not try to remove it. Call a professional. This is the single most common injury-causing garage door repair, and it’s the exact scenario where the difference between a trained technician and a homeowner with a YouTube video becomes a matter of hospital versus home. If you’re choosing who to hire, read How to Hire a Garage Door Contractor in Miami Beach: A Step-by-Step Guide first.
6. Gap at the Bottom of the Door
Likely causes: Worn or cracked bottom weatherstripping, a door that’s out of level, or settling concrete. Miami Beach garages deal with near-constant humidity and salt in the air, which eats rubber seals faster than you’d expect. A gap doesn’t just let in water during hurricane season. It lets in insects, lizards, and hot humid air that makes your garage unusable in August.
Safe to attempt: Replacing bottom weatherstripping is a straightforward DIY job. The rubber strip slides into a channel on the bottom of the door. Cut to length, slide in, and you’re done. If the gap is uneven because the door isn’t level, that’s a track or spring issue requiring a technician.
7. Opener Runs but Door Doesn’t Move
Likely causes: Disengaged emergency release cord, stripped gear inside the opener, or broken spring. This symptom trips up a lot of homeowners because it looks like an opener problem but often isn’t. The opener motor runs, the chain or belt moves, but the door stays put. In many cases, the spring is broken and the opener is trying to lift the door’s full weight alone, which it was never designed to do. The opener’s gears strip quickly under that load.
Safe to attempt: Check the emergency release cord. If it’s dangling and disengaged, pull it toward the door to re-engage the trolley. If the cord is engaged and the opener still runs without moving the door, shut the opener off and call a technician. Continuing to run the opener on a broken spring will destroy the opener too, turning a $200 spring repair into a $600 spring-plus-opener job.
For a deeper walkthrough of spring-specific issues in Miami Beach, see our guide to Garage Door Repair in Miami Beach.
How to Test Whether It’s the Opener or the Door
This 60-second test saves you from paying a technician to diagnose something you can figure out yourself. It tells you whether the problem lives in the door hardware (springs, cables, tracks, rollers) or the opener unit. Here’s how to do it.
- Pull the emergency release cord. This red handle hangs from the trolley above your head. Pulling it disconnects the door from the opener carriage.
- Lift the door manually. Grip the handle or the bottom edge if you can reach it safely. Lift to waist height.
- Observe how the door behaves. A properly balanced door stays wherever you put it. If it stays at waist height without you holding it, the springs are doing their job. If it slams down or flies up, the spring tension is off.
- Open and close it a few feet. Does it move smoothly? Do you hear grinding? Does it feel unusually heavy? A balanced door should feel like lifting about 10 to 15 pounds.
- Re-engage the opener. Pull the release cord toward the door until you hear it click. Run the opener once to confirm it’s reconnected.
What the results tell you: If the door is heavy and slams down, the spring has failed or lost tension. That’s a door hardware problem, not an opener problem. If the door moves smoothly by hand but the opener won’t lift it, the opener motor, gear, or logic board is likely at fault.
This test takes less than two minutes and gives you a clear idea of which service you need. It also speeds up the phone call when you contact us because you can tell us exactly what you observed. If you need opener-specific repair work, see our guide to Garage Door Opener Repair in Miami Beach.
Spring Problems: The Line You Don’t Cross
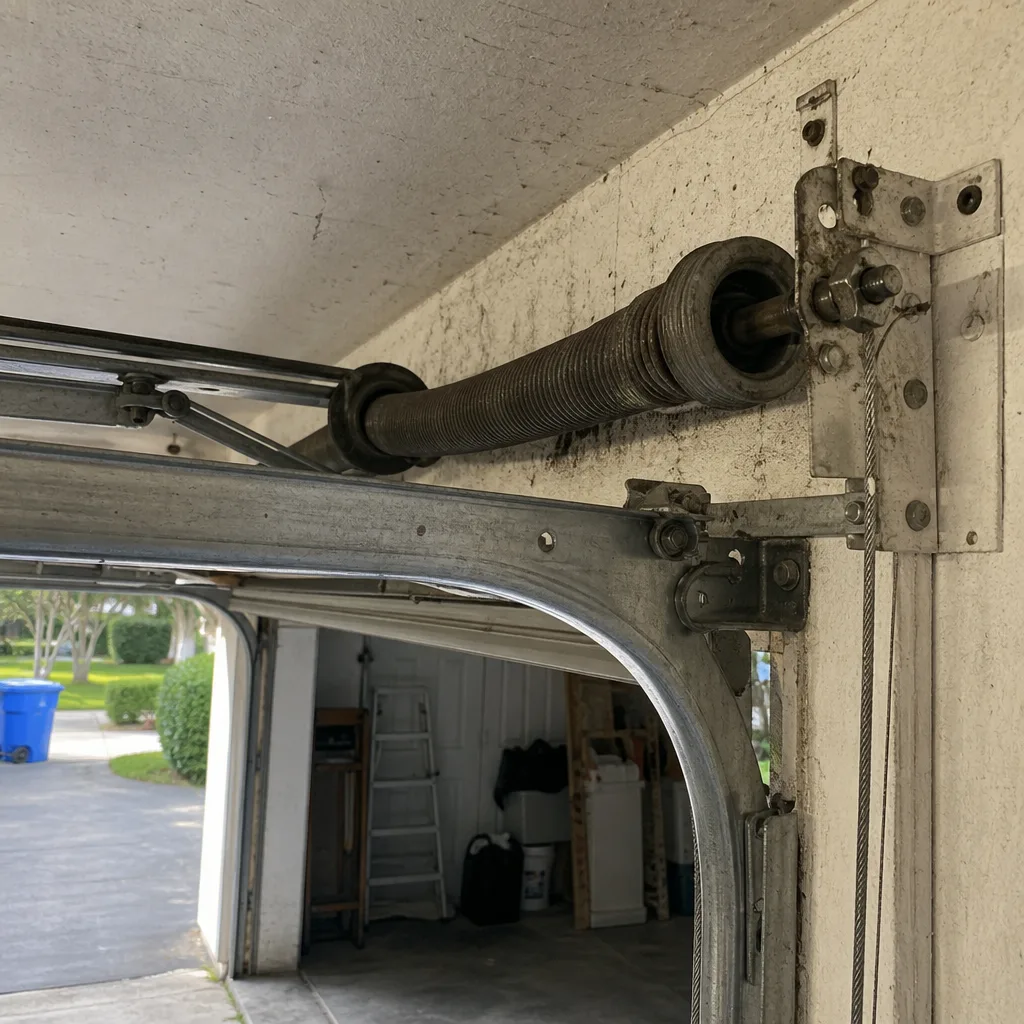
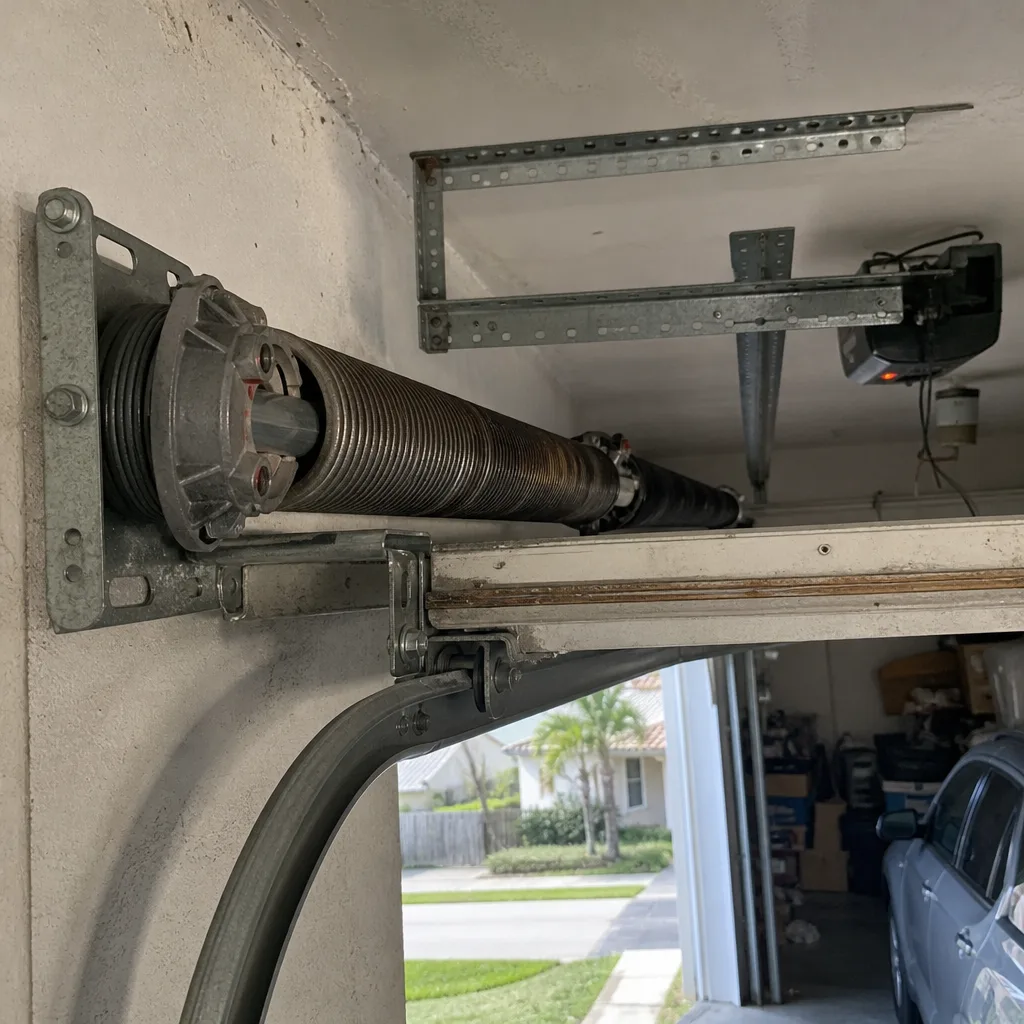
Here’s the hard truth about garage door springs. Torsion springs, the ones mounted horizontally above the door, are under constant tension even when the door is closed. Extension springs, the ones running parallel to the tracks on either side, stretch and contract with every cycle. Both are designed to fail eventually. Most residential springs last 7 to 10 years or about 10,000 cycles. In a Miami Beach household where the garage door goes up and down four to six times a day, that lifespan can compress to five or six years.
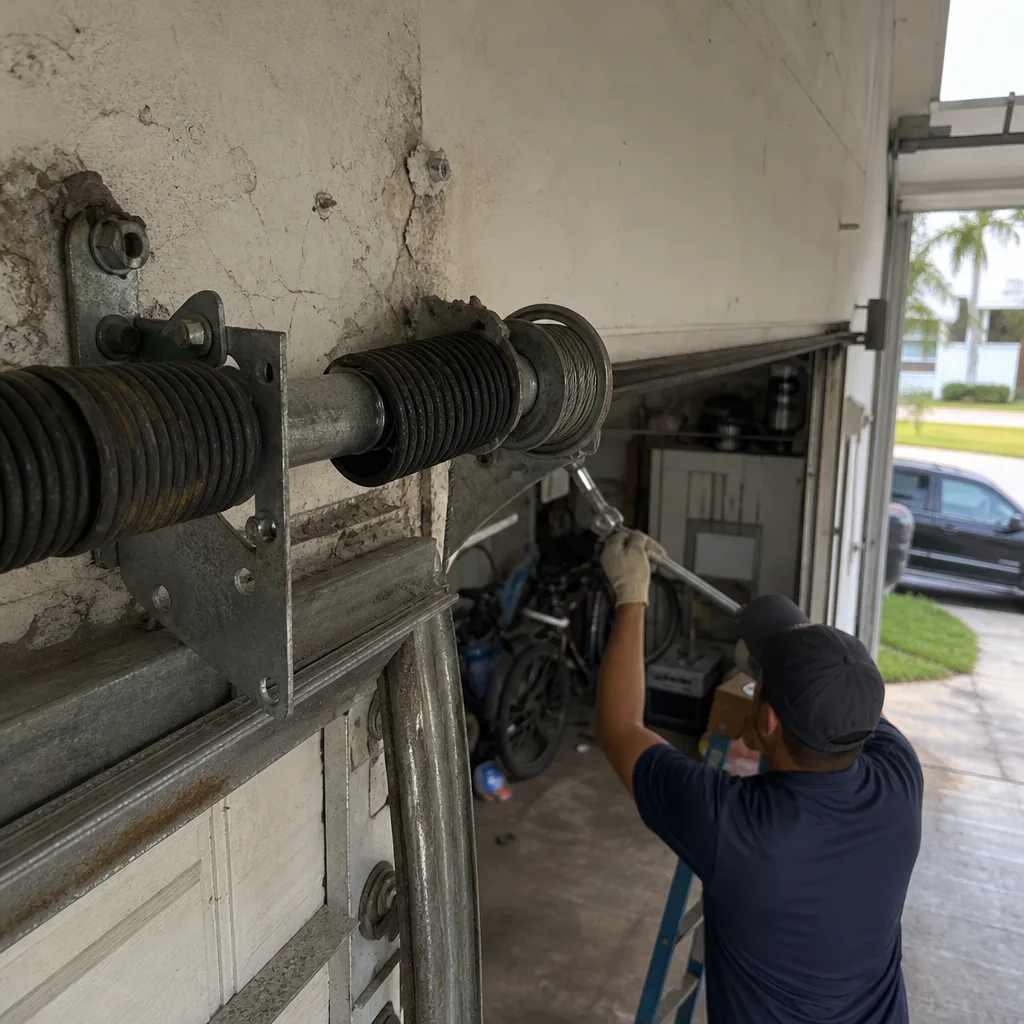
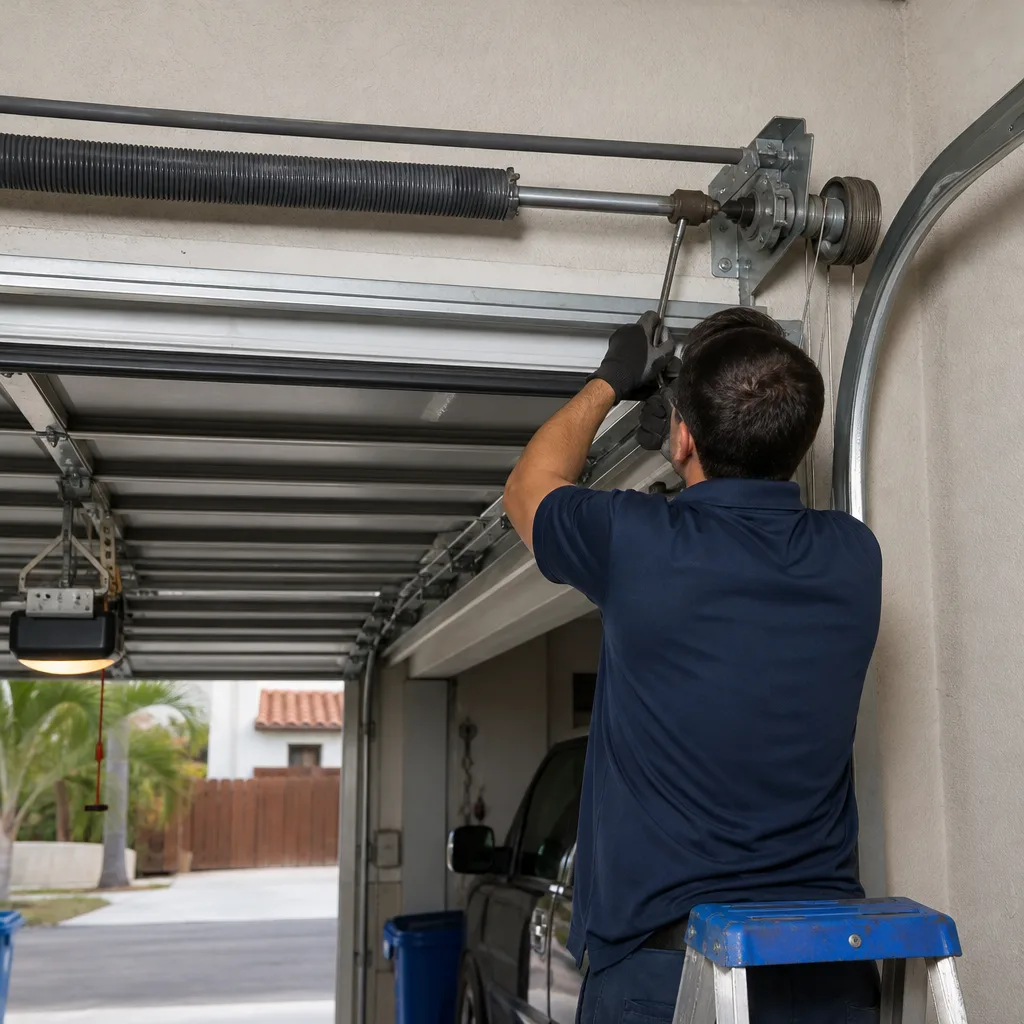
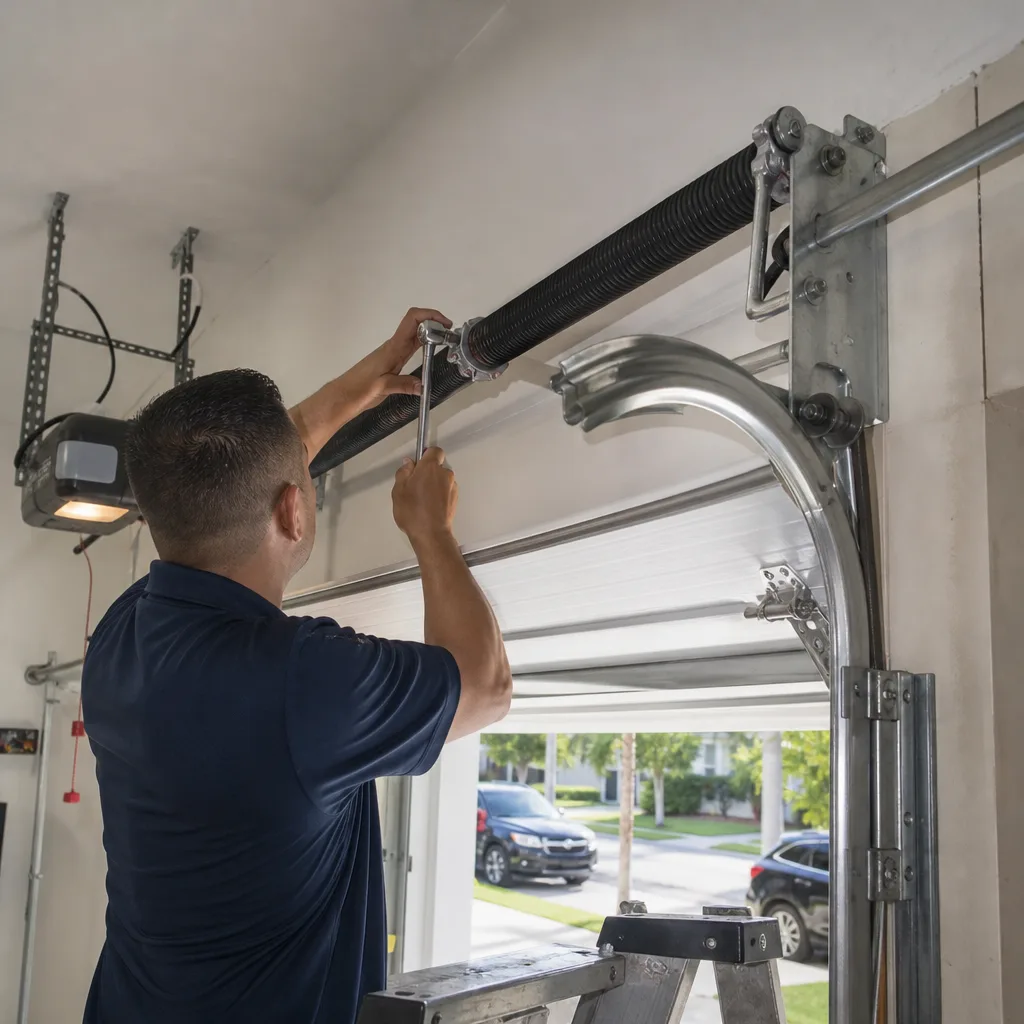
The stop-here line is absolute: if the spring is broken, if it’s visibly stretched, if it’s making noise, or if you suspect it’s lost tension, do not touch it. Do not attempt to remove it. Do not attempt to “unwind” it. Torsion springs store enormous energy, and the winding bars used to adjust them require specific dimensions and careful technique. A slip with the wrong bar sends the spring flying with enough force to break bone or worse.
We work on Wayne Dalton, Craftsman, and Raynor systems regularly, and the spring designs differ between them. Wayne Dalton’s TorqueMaster system, for example, has the spring enclosed inside a tube, so a visual inspection won’t tell you much unless you know what to look for. Raynor doors often use heavier-gauge springs with different cycle ratings. Matching the replacement spring to the door’s exact weight and height is not a guess. It’s math, and getting it wrong means a door that’s marginally safe for a few weeks before something else fails.
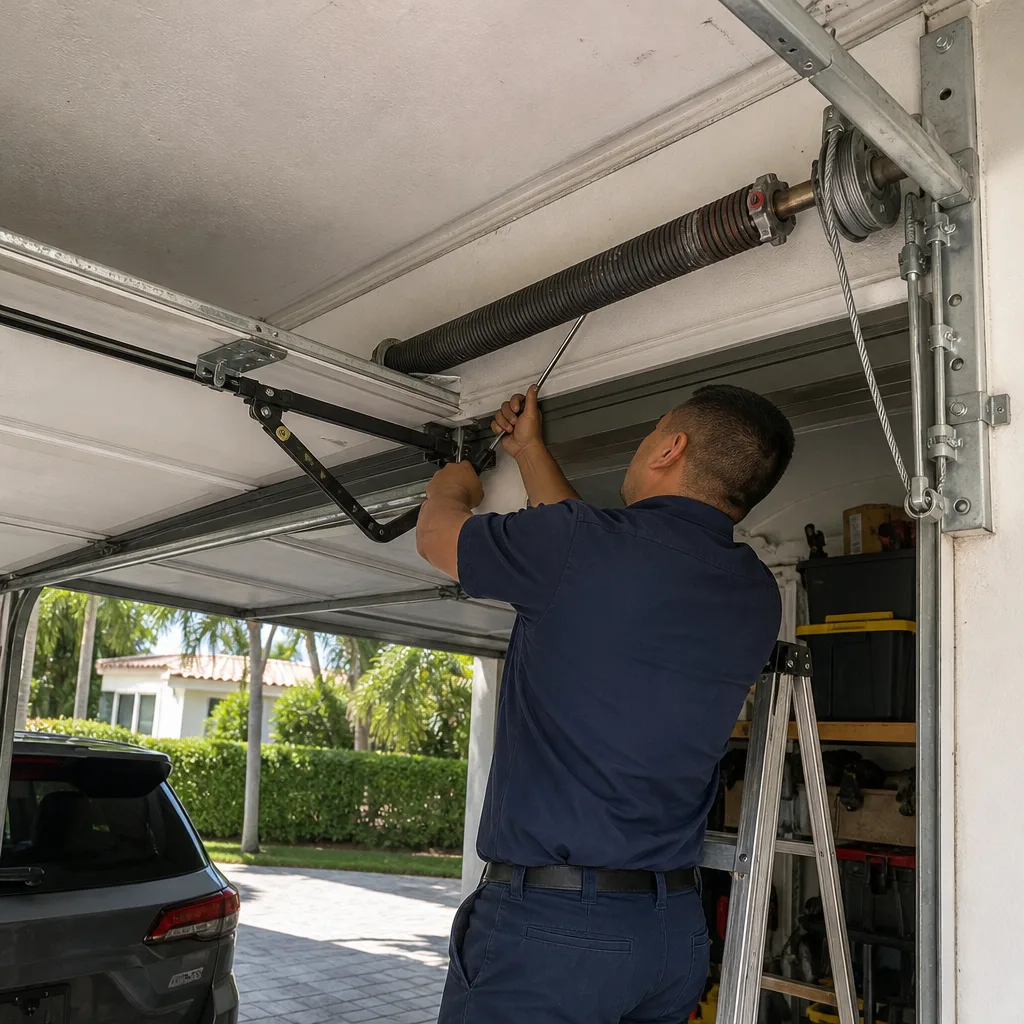
When a spring breaks on a Wayne Dalton or a Craftsman door in Miami Beach, the fix is the same: replace both springs, not just the broken one. Springs wear at the same rate. Replacing one and leaving the other means you’ll be doing this again in six months. A technician will also lubricate the new springs and check the door’s balance after installation.
If you’re not sure whether you’re looking at a spring problem, call us and describe what you see. It costs nothing to ask. Getting it wrong costs a lot more.
Cable and Track Issues: What You Can Safely Check
Cables and tracks interact constantly. A cable that slips off a drum leaves the door lifting unevenly, which twists the track, which then binds the rollers, which then strains the opener. One small problem cascades quickly. The good news: you can spot most cable and track issues visually without touching anything under load.
What to Check on Tracks
- Look for visible bends or dents. A bent track usually happens when a car bumps the door or something heavy leans against it.
- Check the mounting brackets. Loose brackets let the track flex, which makes the door wobble and grind. Tighten bracket screws with a socket wrench if they feel loose. Do not loosen the track bolts that run through the vertical track into the wall. Those are adjustment points, not mounting points.
- Run a rag through the track to check for debris. In Miami Beach, wind-carried sand and salt spray settle into the tracks and mix with lubricant to form a gritty paste that accelerates roller wear. A dry rag or a vacuum with a narrow attachment handles this.
What to Check on Cables
- Look for fraying. Cables are braided steel. When individual strands start to separate and stick out like a bad hair day, the cable is nearing failure. A frayed cable is a warning sign, not a cosmetic issue.
- Check for slack. A cable that’s loose when the door is closed means the spring has lost tension. Do not touch it.
- Never attempt to re-seat a cable that has slipped off the drum. The drum is connected to the spring. Touching it means touching the tension system. This is a hard stop.
We’ve repaired doors in Miami Beach where a slipped cable was the only problem. The homeowner saved money because they called before the cable snapped completely and took the spring with it. If you see fraying, call before it breaks.
Opener Problems: Diagnostics You Can Do Yourself
Openers are the most misunderstood part of the garage door system. Homeowners assume that if the door won’t move, the opener is broken. More often than we’d like, the opener is fine and a spring has failed. But when the opener truly is the problem, here’s what you can check safely.
Step 1: Listen to the Opener
Press the wall button and stand near the unit. A healthy opener makes a predictable sound: a brief hum as the motor starts, then the smooth whir of the gearbox. A grinding or rattling noise usually means the main gear is stripped. A clicking sound that repeats without the motor turning means the logic board is sending signals but the capacitor or motor isn’t engaging.
Step 2: Check the Remote and Wall Button
If the remote doesn’t work but the wall button does, the problem is the remote battery or programming. If neither works, check the outlet. A tripped GFCI outlet in a Miami Beach garage, especially during the humid months, knocks power to the opener and looks exactly like a dead opener. Reset the outlet and try again.
Step 3: Test the Safety Sensors
Most openers made in the last 25 years have photo eye sensors mounted near the floor on each side of the door. If the sensor light is blinking, the beam is blocked or the sensors are misaligned. More on this in the next section.
Step 4: Attempt a Manual Opener Reset
Some opener issues clear with a power cycle. Unplug the unit for 60 seconds, plug it back in, and test. This resets the logic board and sometimes clears the error code.
Beyond these steps, opener internals are not a homeowner project. Capacitors inside the unit store charge even after it’s unplugged, and the gear assembly requires specific replacement parts. We service LiftMaster, Chamberlain, Genie, and Craftsman openers, and the diagnostic process differs between smart openers with Wi-Fi modules and older chain-drive units. The good news is that most opener repairs are far cheaper than full replacement. A stripped gear or a bad capacitor is a $100 to $200 repair, not a $400 replacement. That’s the repair-first approach: Top Notch Garage Door Repair home services the full range of opener brands, and we’ll tell you honestly whether the unit is worth repairing.
For more on opener-specific diagnosis, read our guide on Garage Door Opener Repair in Miami Beach.
Sensor Alignment and Photo Eye Issues
Photo eye sensors are small, unassuming, and responsible for roughly one in five service calls we handle in Miami Beach. The principle is simple: one sensor sends an infrared beam, the other receives it. If anything interrupts the beam, the opener refuses to close the door. It’s a safety feature, and it’s not optional.
Most sensor problems fall into three categories:
- Misalignment. A bump from a garbage can or a child’s bike knocks one sensor slightly out of position. The beam doesn’t reach the receiver. The opener thinks something is in the way.
- Dirty lenses. Miami Beach’s combination of salt air, sand, and humidity leaves a fine film on the lenses that blocks the beam. A damp cloth fixes this in 20 seconds.
- Wiring issues. The wires running from the sensors to the opener can become loose, corroded, or chewed by rodents. Corrosion is particularly common in Miami Beach garages where the air is perpetually damp and salt-laden.
How to Diagnose a Sensor Problem
- Look at the sensor lights. A solid green or solid red light usually means the beam is aligned. A blinking light means misalignment or an obstruction.
- Clean both lenses. Use a soft, dry cloth. Don’t use glass cleaner with ammonia. It can fog plastic lenses over time.
- Check alignment visually. The sensors should face each other squarely. If one looks angled, gently reposition it. Most are mounted on brackets that allow minor adjustment with a screwdriver.
- Test the door. Close it with the wall button. If it still reverses or refuses to close, you’ve checked the easy stuff.
Do not attempt to bypass the sensors. Some online guides suggest taping them together or rewiring them to make the door close. This disables the auto-reverse safety mechanism that’s required by federal law since 1993. A garage door that closes on a child because a homeowner bypassed the sensors is a tragedy that no amount of saved money can justify.
If the sensors are clean, aligned, and the door still reverses, the issue may be the closing force setting or the logic board. Call us and describe what you’ve checked. It saves diagnostic time and gets your door back in working order faster. For more guides & resources, visit our blog.
Weatherstripping, Seals, and the Miami Beach Climate Factor
Miami Beach is hard on garage doors. It’s not the heat, exactly. It’s the combination of heat, salt, humidity, and the occasional hurricane-force wind gust. Everything that’s rubber, plastic, or coated metal degrades faster here than it does inland. Homeowners who understand this save money by replacing wear items proactively instead of waiting for a failure.
The Bottom Seal
The rubber strip at the bottom of the door, called the bottom weatherstrip or astragal, keeps water, insects, and debris out. In Miami Beach, it’s also your first line of defense against flooding during heavy rain events. A worn or cracked seal lets water pool inside the garage, which warps drywall, rusts tools, and creates the humid conditions where mold thrives in a space that already fights humidity nine months of the year.
Replacement is straightforward. The old strip slides out of its channel on the bottom of the door. The new strip slides in. You can buy a universal replacement at most hardware stores, and it takes about 20 minutes. We recommend checking the seal twice a year: once before rainy season starts in June, and once after hurricane season ends in November.
The Side and Top Seals
The weatherstripping running vertically on the sides of the door opening and across the top is less critical but still matters. It blocks drafts, reduces rattling, and keeps wind-driven rain from sneaking around the edges. If you notice daylight visible at the edges of your closed door, the seals are failing.
The Salt Air Factor
Here’s what most generic garage door guides miss. Salt air in Miami Beach accelerates corrosion on exposed metal parts: springs, cables, hinges, and track hardware. A galvanized spring that lasts 10 years in Orlando might last 6 years within a few blocks of the ocean. We see this constantly. Homeowners who live east of Alton Road replace hardware more frequently than those further inland in neighborhoods like Bayshore or Normandy Isle. It’s not that the doors are lower quality. The environment is just more aggressive.
Regular lubrication with a silicone-based product designed for garage doors slows the corrosion. A technician should do this once a year as part of a tune-up. It’s a small investment that extends the life of everything that moves.
If your door has reached the point where seals, panels, and hardware are all failing at once, it may be time to consider a full replacement. Our guide to Garage Door Installation in Miami Beach walks through what that process looks like.
How to Document the Problem Before You Call
Here’s a simple habit that saves you money and time. Before calling a technician, document what you’re seeing. The more information you can provide, the more likely we can give you an accurate estimate over the phone and arrive with the right parts. Here’s what to gather.
Photograph These Things
- The entire door, closed. This shows the overall condition and any visible gaps.
- The spring area above the door. If a spring is broken, a photo confirms it immediately. If you see a visible gap in the spring coils, that photo tells us which spring failed.
- The opener unit. A clear photo of the manufacturer’s label gives us the model number and helps us confirm parts compatibility.
- Any visible damage. Bent track, frayed cable, cracked panel, whatever you see.
- The bottom seal. If the issue is water or debris intrusion, a photo of the seal condition confirms it.
Listen and Note These Sounds
- When does the sound happen? On opening? On closing? Both?
- What does it sound like? Grinding, scraping, banging, squealing, or clicking are five different sounds with five different causes.
- Has the sound changed over time? A squeal that’s become a grind is a different problem than a grind that’s been there for a year.
Gather This Information
- The door’s age. If you bought the home when the door was already there, approximate. A door that’s 20 years old has different repair economics than one that’s 5 years old.
- What you’ve already tried. Did you lubricate the rollers? Reset the opener? Clean the sensors? Knowing what didn’t work narrows the diagnosis.
- Whether the problem is intermittent or constant. A door that fails every time is easier to diagnose than one that fails once a week. Intermittent problems often point to loose connections or a failing logic board.
Make the note-taking part of your routine the first time something seems off. The best time to call is early. A small problem caught on a Tuesday is cheaper than a big problem discovered when the door won’t open on a Monday morning and you need to get to work.
Common Mistakes to Avoid
- Using WD-40 on the tracks and rollers. WD-40 is a degreaser and solvent. It strips the lubricant that keeps metal parts moving smoothly and attracts grit. Use a silicone-based garage door lubricant instead.
- Adjusting spring tension yourself. There is no safe DIY method for winding a torsion spring without the right tools and training. The winding bars used by technicians are specific lengths of hardened steel. A screwdriver or pry bar will snap. This is the number one cause of garage door injuries requiring surgery.
- Disabling the photo eye sensors. Bypassing or taping the sensors to force the door closed disables a federally mandated safety feature. If the door later closes on a person or pet, the liability and the guilt are both catastrophic.
- Running the opener repeatedly on a broken spring. Every time you press the button with a broken spring, the opener’s gears grind against a load they were never designed to handle. A few minutes of this can strip the gear and turn a spring replacement into a spring-plus-opener replacement.
- Ignoring a slow-moving door. Slow operation is usually the earliest sign of a failing spring. Waiting until it breaks completely means a bigger repair and possibly a door that’s stuck open or closed at the worst possible time.
- Replacing one spring instead of both. Springs wear in pairs. If one has failed, the other is close behind. Replacing both saves the second service call and the second diagnostic fee.
- Neglecting lubrication in Miami Beach’s salt air. Homes near the ocean experience accelerated corrosion on all metal parts. An annual lubrication service extends the life of springs, cables, hinges, and the opener’s internal gears.
When to Call a Professional
You should call a professional garage door technician whenever the problem involves the spring system, cables under tension, or anything that requires working at height near a loaded door. If the door is significantly heavy when you disengage the opener, if a spring is visibly broken, if a cable is frayed or off the drum, or if you’ve adjusted the sensors and the door still misbehaves, stop. The parts that hurt people are the parts under load. A professional has the training, the tools, and the checklist to do the job without anyone getting hurt.
Top Notch Garage Door Repair offers free estimates in Miami Beach. Call (855) 754-6010 and describe what you’re seeing. We’ll help you determine whether it’s a safe fix or a service call before we ever set foot in your garage.
Frequently Asked Questions
Spring replacement in Miami Beach typically runs between $180 and $340 for a pair of torsion springs, depending on the door’s weight and the spring’s cycle rating. Yes, the range varies because heavier doors need stronger springs, and high-cycle springs cost more upfront but last longer. Call (855) 754-6010 for an exact quote. Estimates are free.
No. Torsion springs are under 100 to 300 pounds of torque, and the tools used to adjust them are specialized. DIY spring repair is the leading cause of garage-door-related emergency room visits. Every reputable technician will tell you the same thing: this is the one repair you never attempt yourself.
A door that opens but won’t close is almost always a sensor problem. The photo eye sensors near the floor are misaligned, dirty, or blocked by debris. Clean the lenses, check the alignment, and remove anything blocking the beam. If the door still won’t close, the limit switch or logic board may be failing.
In Miami Beach, lubricate the rollers, hinges, and springs every six months. The salt air and humidity accelerate corrosion on metal parts, so a coastal property benefits from more frequent maintenance than an inland one. Use a silicone-based garage door lubricant, never WD-40.
Most opener problems are repairable for less than the cost of replacement. Stripped gears, bad capacitors, and faulty logic boards are all replaceable parts on LiftMaster, Chamberlain, Genie, and Craftsman units. Replacement is only recommended when the unit is very old and parts are no longer manufactured. We’re a repair-first company. We’ll tell you if your opener is worth fixing, and we’ll never push a replacement when a $150 repair solves the problem.
We service eight of the most widely installed garage door and opener brands: LiftMaster, Chamberlain, Genie, Clopay, Amarr, Wayne Dalton, Craftsman, and Raynor. We work on the brand you already have. If you’re not sure what door or opener is installed, a photo of the manufacturer’s label helps us confirm parts compatibility before we arrive.
The Bottom Line
Garage door troubleshooting comes down to three questions: is it the door or the opener, is it safe to touch, and should I call someone. The manual release test answers the first question in two minutes. The spring, cable, and track sections of this guide answer the second with a clear line: anything under tension is a professional’s job. And the third question, for anything beyond cleaning and lubrication, is answered by the math. A $20 bottle of lubricant and a quick sensor cleaning might fix your problem today. A broken spring, a frayed cable, or a grinding opener will only get more expensive the longer you wait. Top Notch Garage Door Repair serves Miami Beach with garage door repair, opener repair, and full installation. Call (855) 754-6010 for a free estimate, and we’ll help you figure out exactly what you’re dealing with.
Written by the team at Top Notch Garage Door Repair, serving Miami Beach since 2014.
See the difference
 Before
 After
 Before
 After
 Before
 After